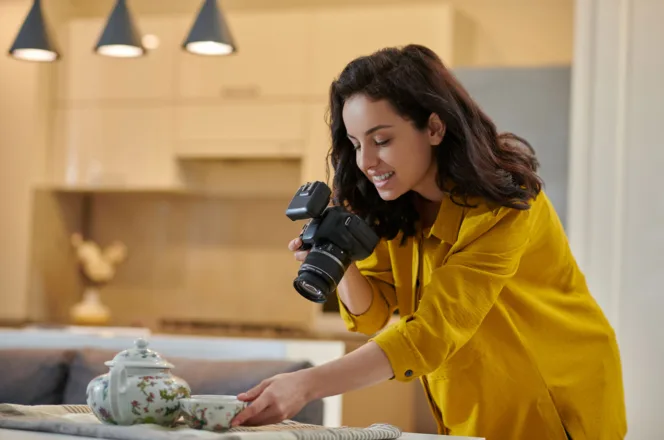
How to prepare a space for an interior photoshoot
Most of what makes an interior photograph work happens before the camera comes out of the bag. Here is what we ask clients to do in the days before a shoot, and what you can safely leave to us.
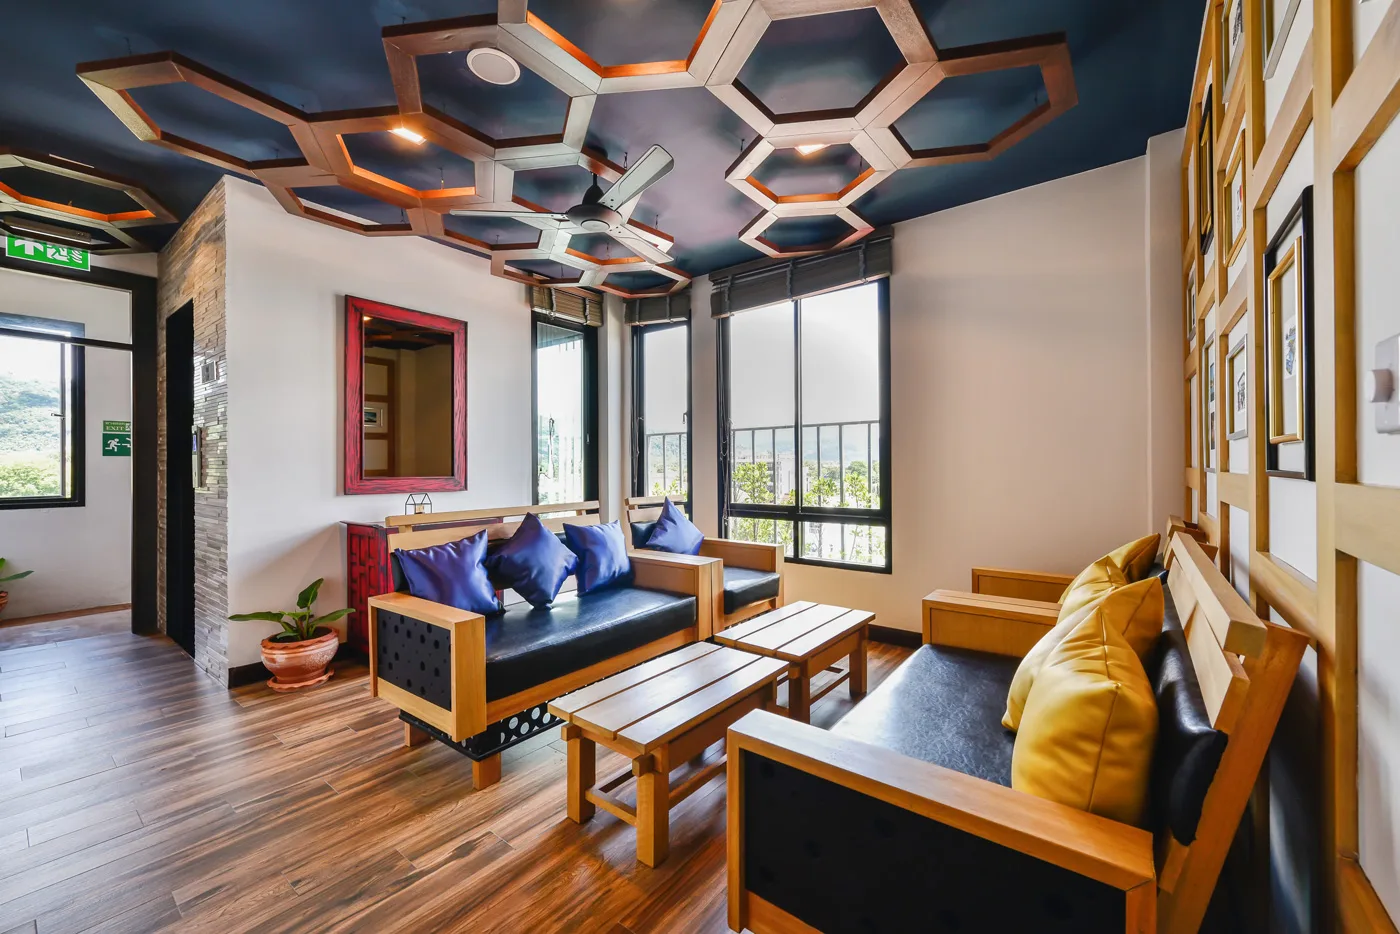
A room that looks fine to the eye rarely photographs well straight away. The camera flattens depth, exaggerates clutter and holds on to every cable and coaster you have stopped noticing. The good news is that almost all of it is fixable in an afternoon.
We send this checklist to clients a few days before the shoot. Architects and interior designers usually work through it themselves; homeowners and hotel teams often split it between two people. Either way, the work below buys you more usable frames on the day, because we spend our time lighting rather than tidying.
Clear surfaces first
Start with every horizontal surface in shot: counters, side tables, desks, windowsills, the top of the fridge. Take everything off, then put back only the two or three objects that belong to the design. A kitchen worktop with a bowl and a board reads as considered. The same worktop with a kettle, a toaster, three jars and a phone charger reads as a photograph of a kitchen being used, which is a different picture entirely.
- Remove cables, chargers, remotes and routers, or route them out of frame.
- Take down anything temporary: sticky notes, calendars, dry-cleaning tags.
- Move bins, cleaning supplies and pet bowls out of the rooms being shot.
- Empty the sink, and dry it.
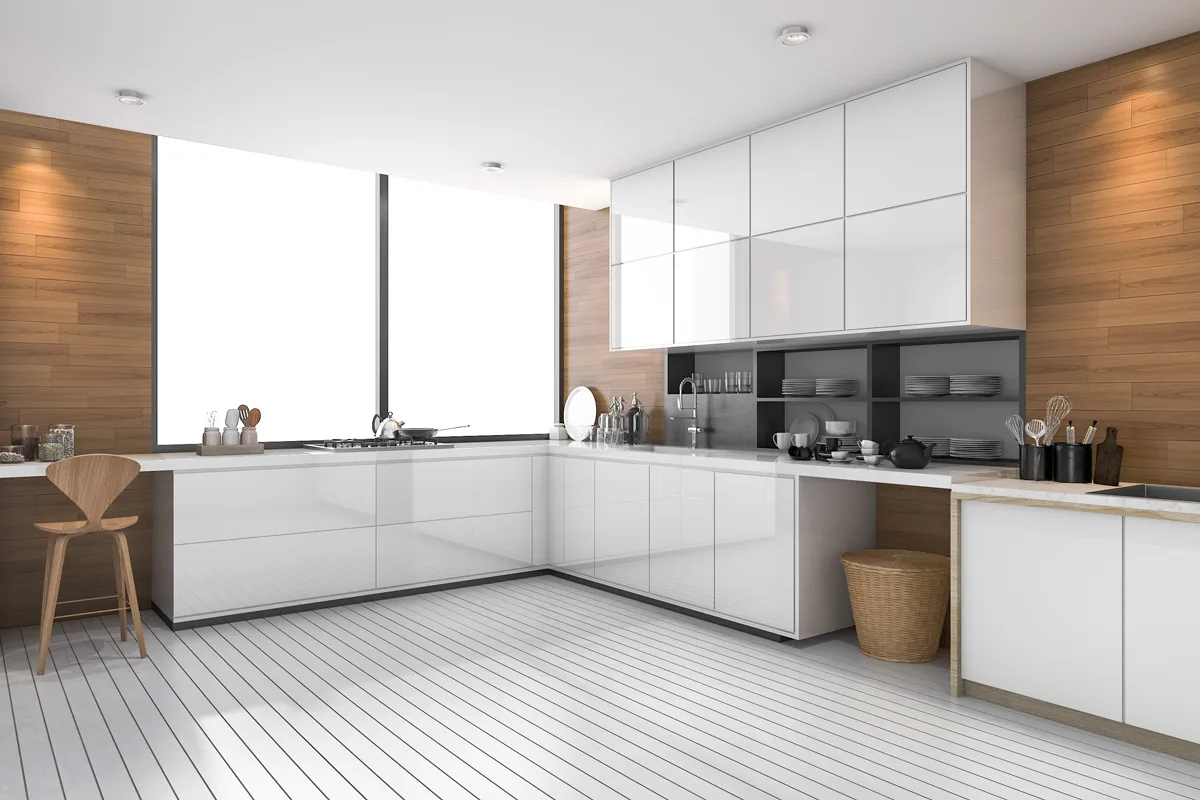
Clean the things that catch light
Glass, mirrors, polished stone and stainless steel all record fingerprints far more clearly than they show them in person. Windows matter most, because a bright window fills a large part of the frame and every smear on it lands in the final image. Clean them inside and out where you can reach.
Retouching can remove a cable in seconds. Removing a streak across a two-metre window costs an hour, and it never looks quite as clean as glass that was simply washed.
Get the lighting consistent
Mixed colour temperatures are the most common problem we meet in Bangalore interiors: warm bulbs in one fitting, cool white in the next, and daylight coming through a window between them. On camera this produces one wall that reads orange and another that reads blue, and correcting it costs quality.
Walk each room with the lights on and replace any bulb that does not match its neighbours. If you cannot match them, tell us in advance so we can plan around it. Replace anything that has failed, and check that lamps you want in shot actually work, since a dark lamp in a twilight photograph is a hole in the frame.
Dress the space lightly
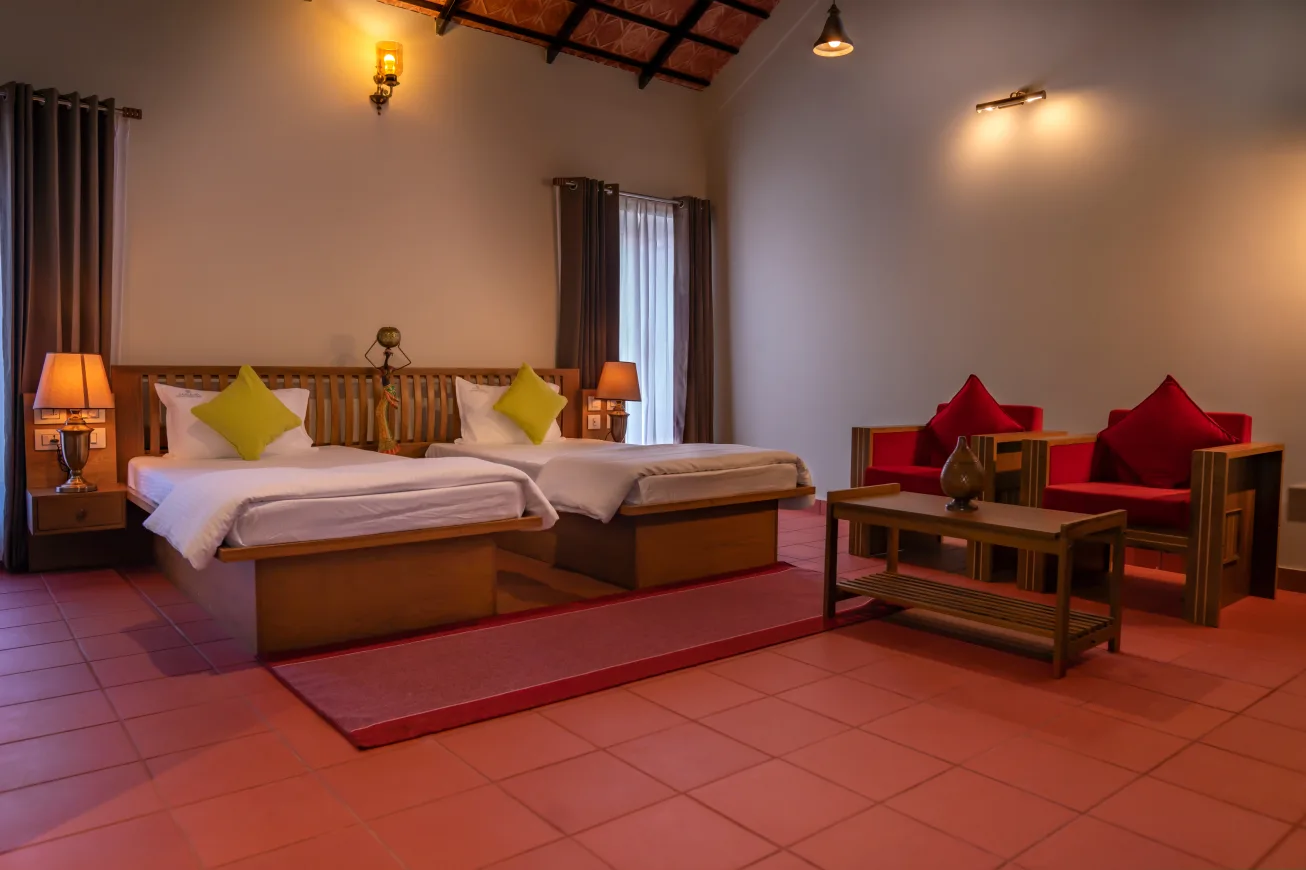
Beds want fresh linen, pulled tight, with the pillows stood up rather than flattened. Towels want folding, not hanging. Cushions want a light chop rather than a karate chop. Add flowers or fruit if the room is bare, but keep it to one arrangement per space. Anything more starts to read as a showroom.
What to leave to us
Do not move furniture into what you imagine is a photogenic arrangement. Rooms are designed to be walked through, and the camera sees a narrower slice than your eye does, so the right position for a chair on the day is usually a few inches from where it lives. We will move it, photograph it and put it back.
Leave curtains and blinds as they are, and leave the lights off until we arrive. Both depend on where the sun is when we start, and we schedule rooms around that. If a west-facing facade is part of the brief, we may well shoot the interiors first and come back to it at dusk.
You can read more about how we plan and schedule a shoot on our architecture and interior photography page.
A short version
- Clear surfaces, then put back two or three objects.
- Hide cables, bins and anything temporary.
- Clean glass, mirrors and polished surfaces.
- Match bulb colour in every room, and replace what has failed.
- Fresh linen, folded towels, one arrangement per room.
- Leave furniture, curtains and lights to the photographer.